I had wanted a BLTouch 3D printer, I felt like the bed leveling would reduce the amount of fiddling per print. I chose to upgrade the motherboard to get something with a native BLTouch port, as the way to achieve it.
Introduction
I spent maybe an hour on the motherboard upgrade, and another 20 hours on the BLTouch. I wanted to document the process so the next guy can avoid some of the pitfalls I ran into. I burned a lot of time because I didn’t know Marlin, bed-leveling processes, or how the BLTouch was supposed to be working. This led down many dead ends because without knowing how it should work it is hard to troubleshoot.
How To Use This Guide
I’m trying to make this guide as short as possible, but also include depth to aid in troubleshooting. To that end, I’m trying to group things into sections, so you can skip quickly to the information you need.
I’m inexperienced with the BLTouch, but I’m going to write with authority. If you notice anything that doesn’t seem right, or if you know something I’ve said is wrong, please let me know so I can understand and correct it.
Overview
The following are the high level steps of what I had to do to upgrade the Ender 3 Pro (purchased in early 2020), with an SKR Mini E3 V2.0 and BLTouch sensor:
- Purchase the parts
- Print a BLTouch mount
- Swap the motherboard
- Connect the BLTouch extension cable and run it to the print head
- Do a firmware update
- Reset the board to defaults and save
- Run a test print without the BLTouch
- Install the BLTouch
- Install a BLTouch firmware and test
- Manually level the bed
- Use BLTouch to level the bed
- Set up your slicer for bed leveling
- Cura settings
Background on Purchasing the Parts
Originally I ordered the Creality BLTouch upgrade kit, but I cancelled it when I realized that for around $20 more I could get a new motherboard as well.
Benefits:
- TMC 2209 drivers (quieter operation, optional sensorless zeroing)
- No need to install a bootloader, No need for the “programming cable”
- Headers for: BLTouch, Power off, filament runout, RBG LED
Drawbacks:
- The v2.0 board is still pretty new, so it’s really hard to find guides that cover it
- I haven’t found any others
Purchasing the Parts
You will need:
- BLTouch 3.1 and 1 meter extension cable kit. I got it from Amazon for $40, for a genuine BLTouch and cable extension. The 1M extension is perfect. Be sure to get the real ANTCLABS one.
- The BigTreeTech SKR Mini E3 v2.0. I got it from the Biqu.equipment official store for $36. It took a solid 2 weeks to get.
- A few small zipties.
Printing the BLTouch Mount
I printed a mount from Thingiverse: “BLTouch Mount for Ender 3 (remix) by registeredthing”
This mount worked very well for the stock printer head, though it is a little difficult to get to the lower fan shroud screw with this installed.
Print this before you take apart your printer.
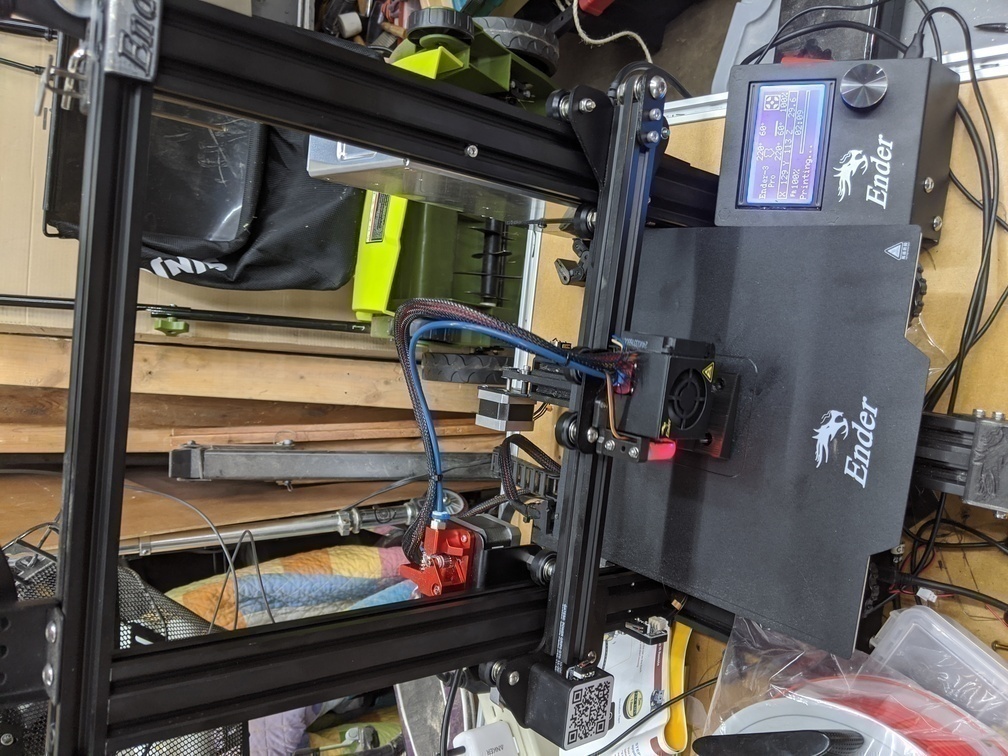
Swap the motherboard
Mostly I followed the “BigTreeTech Replacement Guide”
With these notes:
- I took pictures of the original boards and cabling before I started, for reference
- It’s pretty easy
- There is hot glue holding the cable connectors, you can just peel that off
- The ports are labeled on the board, so you can double check all the connections
- Board pinouts to verify connections are in “The SKR v2.0 Hardware Guide”
Connecting BLTouch Extension Cable
While I was replacing the boadr I went ahead and connected the board end of the BLTouch cables and run it through the cable loom up to the hot end.
The steps:
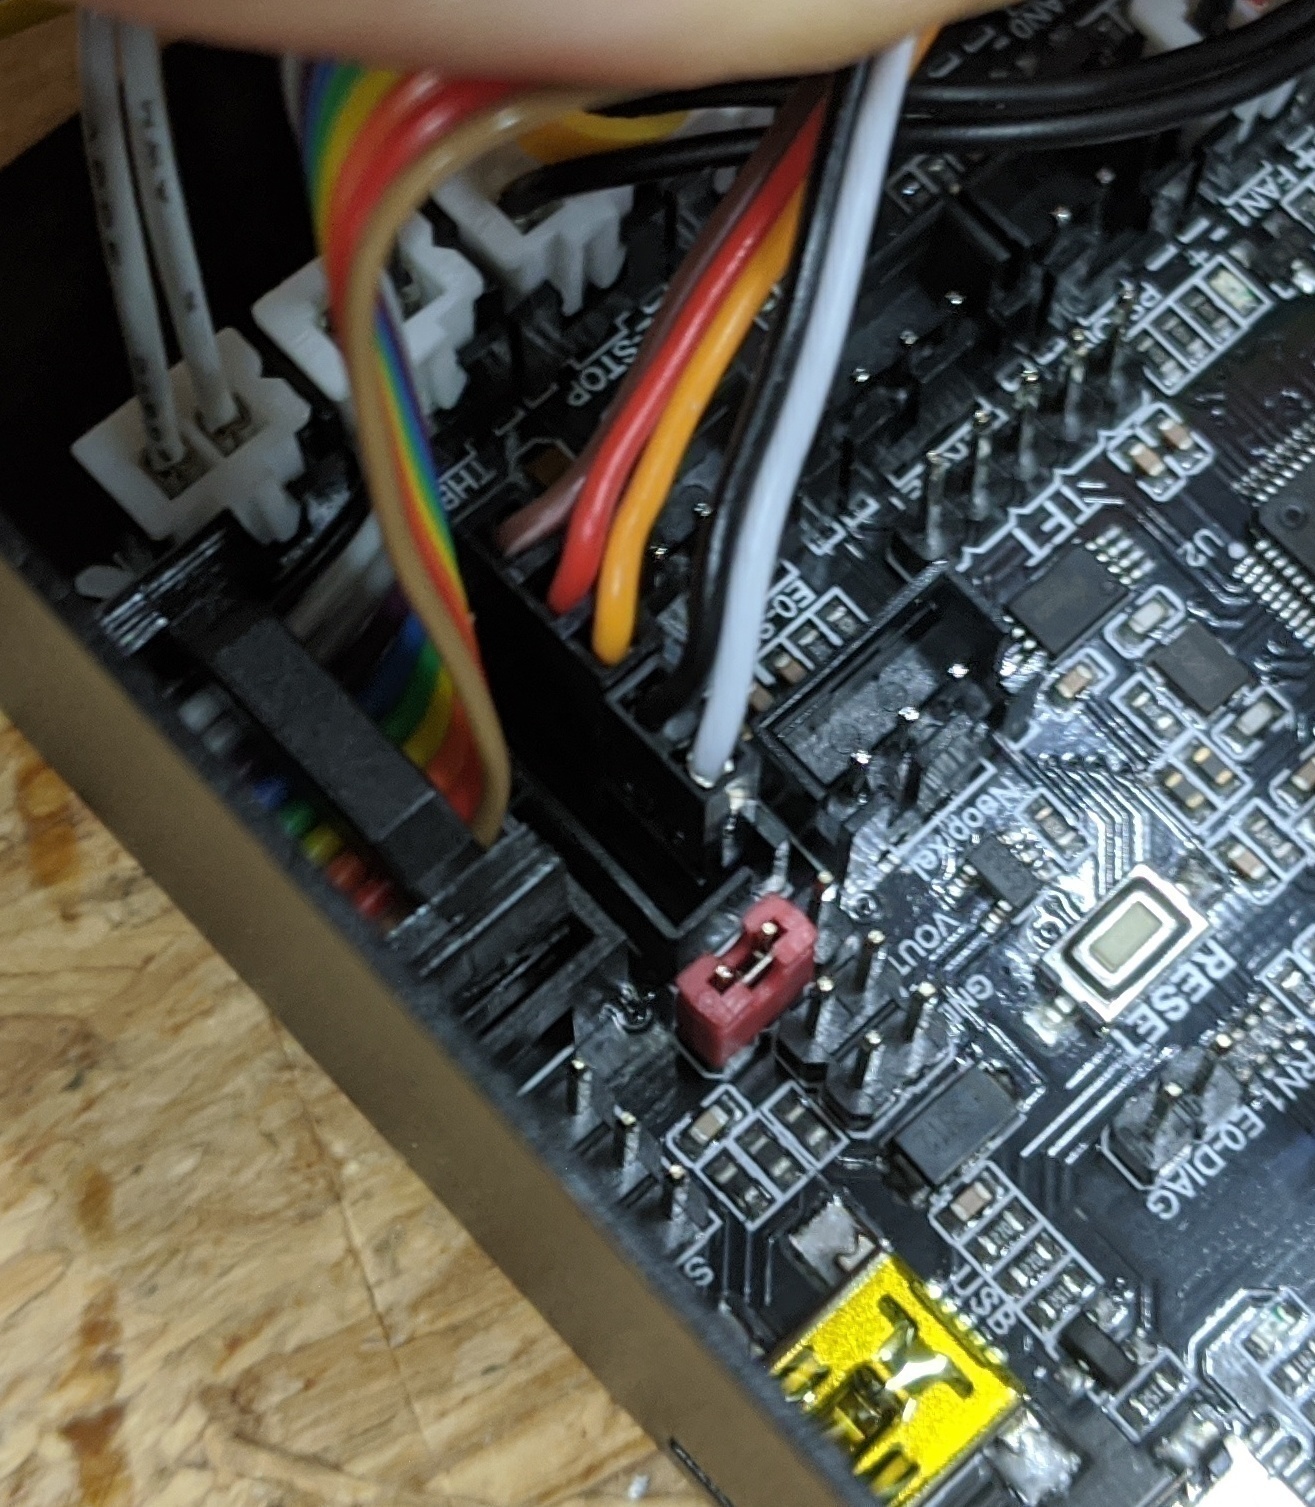
- BLTouch port is, with the end-stop ports on your left and the USB port on
the right, from left to right: Brown, Red, Yellow, Black, White
- Cut off the existing zipties on the cable loom from hot end.
- If you bunch the cable loom mesh sleeve to shorten it, it becomes larger diameter and you can slip the BLTouch cables in. Make sure you leave enough slack at the motherboard end.
- Zip tie the motherboard end of the cable loom, and close back up the motherboard enclosure.
- The majority of the cable do not ziptie yet. It won’t reach all the way to the hot end, but it will reach the BLTouch cable.
Do a Firmware Update
The board ships with firmware, so this is optional, but I ended up grabbing it.
- Download “firmware.bin” from the “BigTreeTech github repo”
- Put it on an sdcard as “firmware.bin”. You could also save the “firmware.cur” as the firmware it shipped with.
- Boot the printer with the sdcard in it.
- The printer display should be blank for around 10 seconds before displaying the Marlin logo, which indicates it did a firmware update.
- You can also verify it did the firmware update by looking on the sdcard to verify “firmware.bin” is renamed to “firmware.cur”.
Reset the board to Defaults and Save
When I first booted the new motherboard, the display showed “TMC Connection Error”. It eventually went away, probably because of loading the defaults, but they recommend loading the defaults:
- In the menu on the printer, go to “Configuration”
- At the bottom do “Load Defaults”
- Do “Save”
- Do “Load”
- Power-cycle the printer just to be get to a known state
Test Print, Manual Bed Leveling
Before putting on the BLTouch, do a test print to make sure everything is good so far. Level the bed as you normally would, using a sheet of paper and the leveling wheels.
Install the BLTouch
- The BLTouch comes with some nuts, washers, and bolts that will connect it to the BLTouch mount you printed earlier. The BLTouch cables go up through the bracket.
- Remove the 2 screws holding the hot end fan shroud, place them through the BLTouch bracket, and screw it back into place. You will have to angle the wrench through between the fan shroud and the BLTouch to get the lower screw.
- Plug in the BLTouch to the extension cable, getting the wires connected correctly.
- Do not zip tie everything until you test it.
Install the BLTouch Firmware
You will need a firmware that has BLTouch enabled.
- Download “firmware-bltouch.bin” from the “BigTreeTech github repo”
- See above “Do a Firmware Update” section for how to upgrade it.
- See above “Reset the board to Defaults and Save” section.
Manually Level the Bed
Some people replace the bed leveling springs with hard stand-offs, but I haven’t done that yet. I just wanted to start off with the bed in a known position, though the bed leveling should handle it not being leveled.
- In the menu, select the “Auto home” option.
- In the menu, select “Auto level” option. Use a piece of paper to level it as normal.
- Using the printer menu, set the “Z Probe Offset” to “-1.85”.
- Do the “Save” and “Load” thing (documented above).
Set Up Slicer to Level Bed
The BLTouch documentation lists some GCODE that needs to be sent as part of the print start to get the BLTouch going. This GCODE comes from the “BLTouch Homepage”
In your slicer you need to add a “G29” code to the start up code. For Cura:
-
Settings -> Printers -> Manage Printers
-
Click “Machine Settings”.
-
In the “Start G-Code”, after the “G28” line add a “G29”:
  ; Ender 3 Custom Start G-code
  G92 E0 ; Reset Extruder
  G28 ; Home all axes
  G29 ; Auto Bed Level with BL-Touch
  ;G1 Z2.0 F3000 ; Move Z Axis up little to prevent scratching of Heat Bed
  [...]